Project Publishing(IIS)
The project to be published on IIS (Internet Information Services) is taken to Release Mode via the Solution Configurations menu.

Under the Build menu, first Clean Solutions and then Build Solution operations are performed.

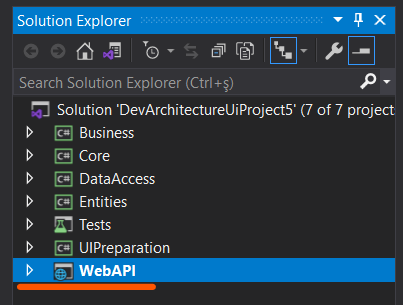
Select the WebAPI project from the Solution Explorer window and right-click.
Click the Rebuild button.

With the WebAPI Project selected in the Solution Explorer window, the Show All Files Button is clicked.
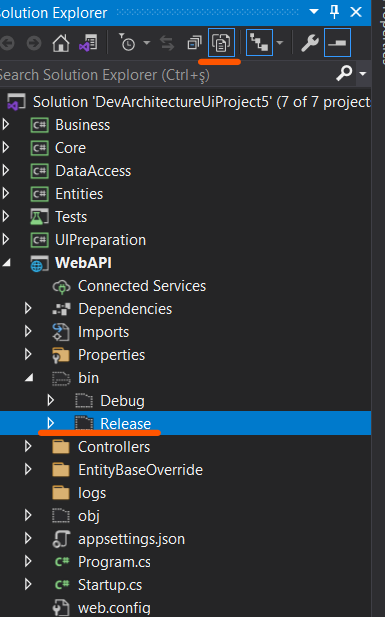
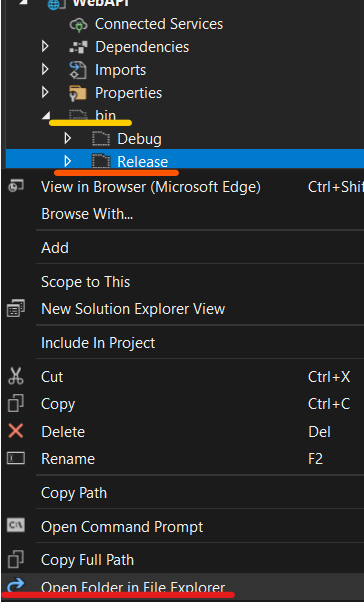
Using the Open Folder in File Explorer option opened below, go to the bin\Release folder.
It is entered by double-clicking on the net6.0 folder in the opened folder.

This folder contains the web.config file.
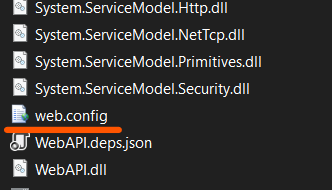
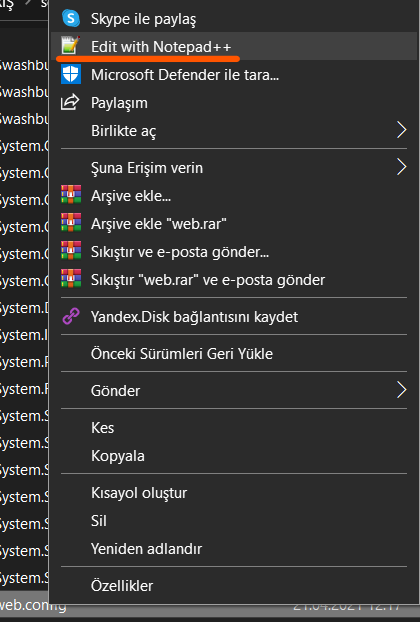
It opens with the help of a text editor such as notepad or notepad++.
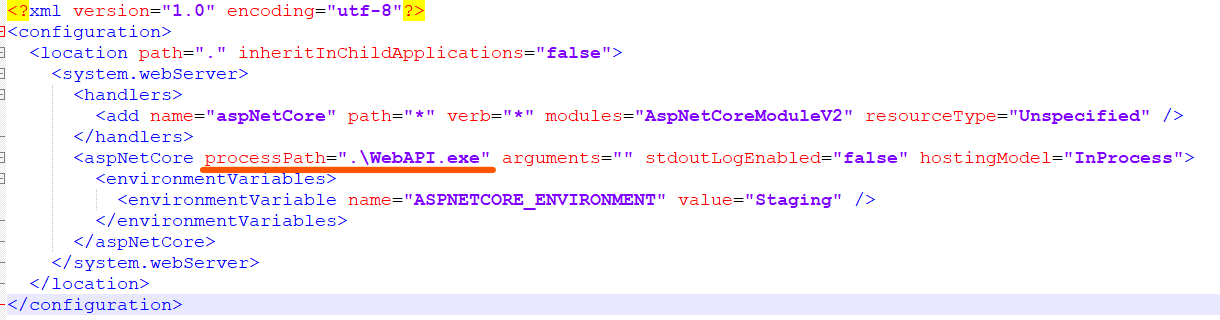
The processPath="bin\Debug\net6.0\WebAPI.exe" value
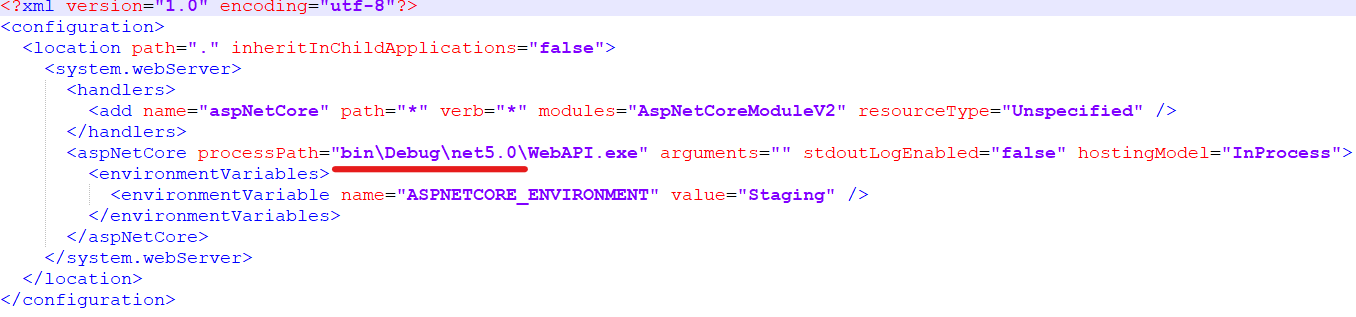
is changed as follows. processPath=".\WebAPI.exe"
You need to open a folder where you will publish your application under the C:\inetpub\wwwroot folder on your server and copy your files into it or move your files to the relevant folder with an FTP client.

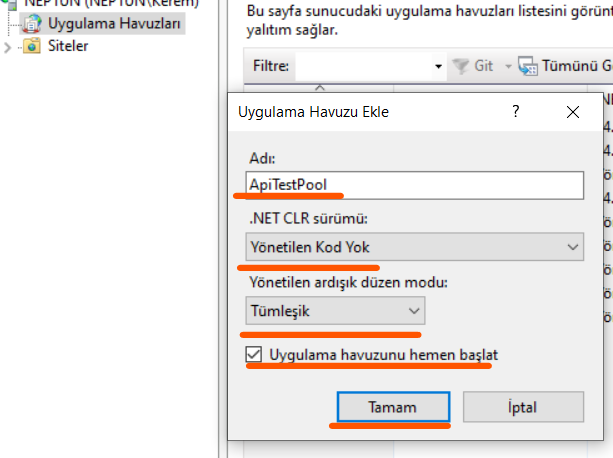
IIS opens. From the Application Pools menu, click the Add Application Pool button.

When adding a new application pool, the information other than Application Pool Name (Optionally Varies) for .NetCore applications should be as follows.
From the Sites menu under IIS, select the folder to which the Default Web Site is added (*This will vary depending on whether your server is Name Server. It can also work as a domain name such as www.devarchitecture.net).
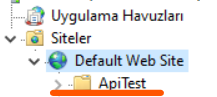
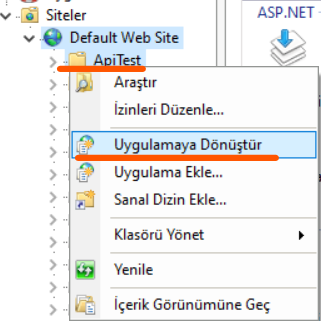
Right click on the folder and click the Convert to Application button.
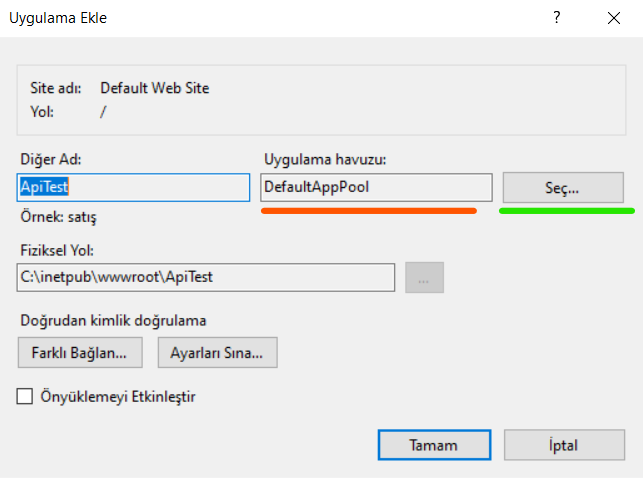
On the screen that opens, click the Select button to change the application pool.
The Application pool that we specified earlier is selected.
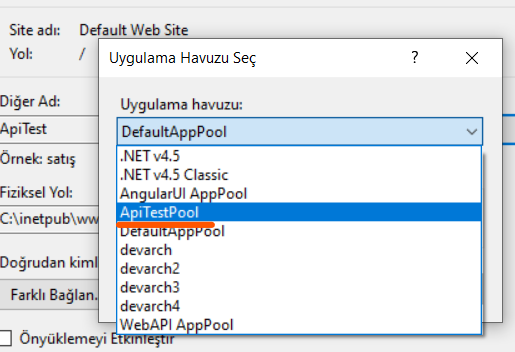
Clicking the OK button for closes the screens.
Now, you can test the working state of your application by typing http://localhost/apitest/swagger/index.html with a web browser or http{s}://<<FIELD_NAME>>/swagger/index.html if you are on a real server.

authors: Kerem VARIŞ, Veli GÖRGÜLÜ